
Introduction
A well-planned videoscope inspection sequence is the foundation of reliable remote visual inspection (RVI). Skipping steps or jumping straight into insertion often leads to incomplete coverage, missed defects, damaged probes, or unusable documentation. Knowing exactly where to begin—and following a logical order—delivers clearer results, safer operations, and better decision-making for maintenance teams across automotive, aerospace, power generation, petrochemical, and manufacturing industries.
At Maargtech, we supply Mitcorp videoscopes and support companies that depend on accurate internal views of engines, turbines, heat exchangers, pipelines, castings, and other critical assets. A consistent videoscope inspection sequence helps maximize the value of these tools while reducing downtime and improving long-term asset reliability.
Why a Structured Videoscope Inspection Sequence Matters
Without a defined order, inspectors risk overlooking critical areas, contaminating the probe, or producing images that cannot be compared over time. A proper videoscope inspection sequence ensures:
- Full coverage of planned zones without blind spots
- Minimal risk of probe damage or equipment contamination
- Repeatable results that support trend analysis and condition monitoring
- Clear, timestamped documentation suitable for audits and compliance
- Efficient use of limited downtime during planned outages
Starting correctly sets the tone for everything that follows and turns a routine check into a high-value diagnostic process.
Step 1: Start with Planning and Safety (The True Beginning)
Every effective videoscope inspection sequence begins before the probe is powered on. This preparation phase is often underestimated, yet it determines the quality of the entire inspection.
- Review equipment history, previous inspection reports, known problem areas, and any relevant OEM guidelines or acceptance criteria.
- Identify all available access points (ports, spark-plug holes, inspection hatches, cleanouts, or manways) and decide which ones will provide the best coverage.
- Define inspection zones in advance—divide complex assets into logical sections (for example, cylinder by cylinder in engines, stage by stage in turbines, or upstream/downstream segments in piping).
- Confirm the asset is properly isolated, cooled, depressurized, locked out, and tagged according to safety procedures.
- Select the correct probe diameter, length, optical tip (forward-view or side-view), articulation type, and any centering devices or guide tubes needed for the geometry.
This planning phase is the most important part of the videoscope inspection sequence. Rushing it is the most common source of incomplete, inefficient, or unsafe inspections.
Step 2: Equipment Preparation and System Check
Next in the videoscope inspection sequence comes thorough verification of the tool itself. A few minutes spent here prevents wasted time later.
- Inspect the insertion tube for cuts, kinks, abrasions, or debris. Clean the distal lens carefully with approved materials.
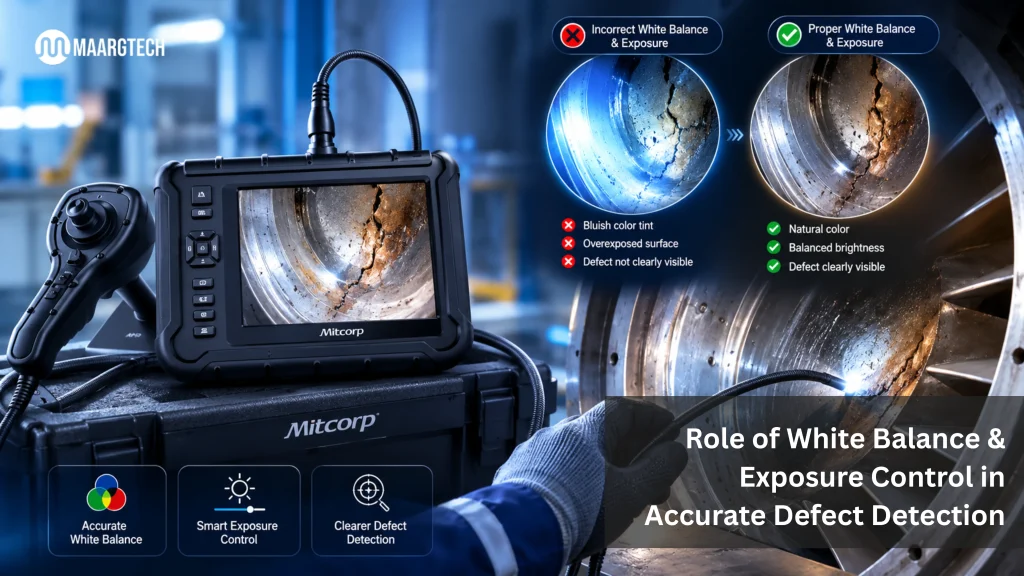
- Power on the unit, check battery level, and confirm image quality, LED brightness control, white balance, and smooth articulation in all directions.
- Adjust exposure and lighting levels—start lower rather than at maximum to avoid glare and blooming on reflective metal surfaces.
- Test recording functions, storage media, and file naming conventions so images and video can be clearly linked to the specific asset, zone, and date.
- Verify any measurement, annotation, or image-enhancement features if they will be used during the inspection.
Only when the system is confirmed fully ready should insertion begin.
Step 3: Controlled Insertion and Initial Orientation
Insert the probe slowly with the articulation unlocked and the tip held in the neutral (straight) position. Continuously watch the live image. Never force the probe around sharp bends or through resistance.
Once the tip reaches the first target zone, establish a clear orientation reference (for example, 12 o’clock position). This orientation becomes the baseline for the rest of the videoscope inspection sequence in that area and helps maintain consistency when comparing images later.
Step 4: Systematic Scanning and Documentation
Work zone by zone according to the plan created in Step 1. Recommended practice within each zone includes:
- Begin with a general overview pass (often best achieved with a side-view tip when available) to understand the overall condition.
- Then capture detailed views of critical surfaces—valves, blades, vanes, welds, cylinder walls, bearings, or tube internals—from multiple angles and controlled lighting levels.
- Follow a consistent internal order wherever possible (for example, piston crown first, then valve heads, seats and stems, followed by cylinder walls at fixed clock positions in engine work).
- Record high-quality still images and short video clips of every indication, plus representative “clean” reference views of important areas. Capture multiple images of any anomaly from slightly different angles or lighting intensities.
- Note exact location, orientation, approximate size (if measurable), and observations in real time.
This methodical scanning forms the core of a reliable videoscope inspection sequence and produces data that can be confidently compared in future inspections.
Step 5: Safe Withdrawal and Post-Inspection Actions
When scanning of all planned zones is complete:
- Unlock articulation fully and straighten the tip before withdrawal.
- Withdraw the probe slowly and carefully, watching the image to avoid snagging.
- Clean the tube and lens immediately after removal to prevent residue from hardening.
- Review captured media while the asset is still accessible in case a quick re-check of a specific area is required.
- Generate a clear report with file references, findings, severity assessment, and recommended actions or follow-up intervals. Store the media in an organized archive linked to the asset ID.
Proper cleaning, documentation, and storage close the videoscope inspection sequence correctly and protect the investment in both the equipment and the inspection data.
Practical Tips for Common Applications
- Engines and cylinders: Follow a fixed multi-view order (piston crown, valve heads, seats, stems, and wall positions at 12, 3, 6, and 9 o’clock) for consistency and easier comparison over time.
- Gas turbines and compressors: Work stage by stage, starting from the most accessible combustion or compressor sections and progressing systematically.
- Piping, boilers, and heat exchangers: Use the insert-and-pull technique—advance the probe fully into the zone, orient it, start recording, then slowly withdraw for smoother, more stable footage.
Adjust the exact order to suit the specific asset geometry, but never skip the planning and preparation stages that start every successful videoscope inspection sequence.
Common Mistakes to Avoid
Even experienced teams sometimes fall into habits that reduce inspection quality: starting insertion without confirming access points, using maximum light on shiny surfaces, capturing only one image of an indication, or failing to establish orientation. Building a disciplined videoscope inspection sequence into standard work instructions helps eliminate these issues.
Getting the Most from Your Videoscope
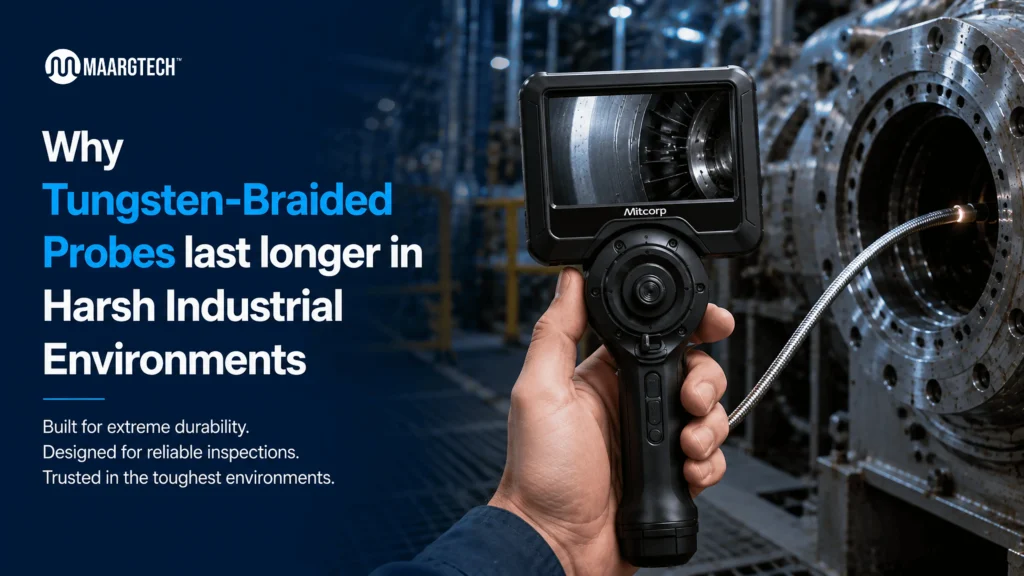
High-quality Mitcorp models available through Maargtech—such as the X2000 HD and X750 series—support these sequences with sharp imaging, reliable multi-directional articulation, durable tungsten-braided probes, strong LED illumination with precise control, and straightforward recording options. The right tool makes following a disciplined videoscope inspection sequence faster, more comfortable, and more accurate, even in challenging industrial environments.
A consistent videoscope inspection sequence—starting with thorough planning and access identification—transforms a simple visual check into a powerful, repeatable asset-integrity process. It reduces the chance of missed defects, shortens overall inspection time, improves safety, and builds a reliable visual history of your equipment that supports better maintenance decisions.
If you need guidance on matching the right Mitcorp videoscope to your inspection requirements, want help developing standardized procedures for your plant, or would like a demonstration, contact the Maargtech team. We help industries across automotive, aerospace, power, petrochemical, and manufacturing achieve clearer internal visibility without unnecessary complexity or cost.
Improve Your Internal Inspections with MAARGTECH Videoscopes
Contact MAARGTECH today to find the right MITCORP industrial videoscope for faster, more accurate inspections and reliable defect detection.
📞 +91-97572 76307 | 📧 sales@maargtech.com
Frequently Asked Questions (FAQ'S )
Where should I start a videoscope inspection sequence?
Always begin with planning and safety, not with inserting the probe. Review previous reports, identify all access points, define inspection zones, confirm the equipment is isolated and cooled, and select the correct probe and optical tip. This preparation phase is the true starting point of an effective videoscope inspection sequence.
Why is planning more important than the actual scanning?
Without proper planning, inspectors often miss critical areas, waste time, or damage the probe. A clear videoscope inspection sequence that starts with zone definition and access-point selection ensures full coverage, consistent results, and safer operations. Most incomplete inspections happen because this first step is rushed or skipped.
What is the correct order for scanning during the inspection?
After controlled insertion and establishing orientation, work zone by zone according to your pre-planned map. Within each zone, start with a general overview, then capture detailed views of critical surfaces from multiple angles. For engines, a common consistent order is piston crown → valve heads → seats and stems → cylinder walls at fixed clock positions.
How can I make my videoscope inspections consistent and comparable over time?
Follow the same videoscope inspection sequence every time: the same starting access points, the same zone order, the same viewing angles, and the same file-naming and documentation method. Capturing both defect images and clean reference views, plus noting orientation, makes future comparisons reliable for condition monitoring.
What are the most common mistakes that break a good videoscope inspection sequence?
The biggest mistakes are:
- Jumping straight into insertion without planning
- Using maximum lighting on reflective surfaces
- Capturing only one image of an indication
- Failing to establish orientation
- Withdrawing the probe without unlocking articulation
Avoiding these keeps the entire sequence efficient and accurate.