
Introduction
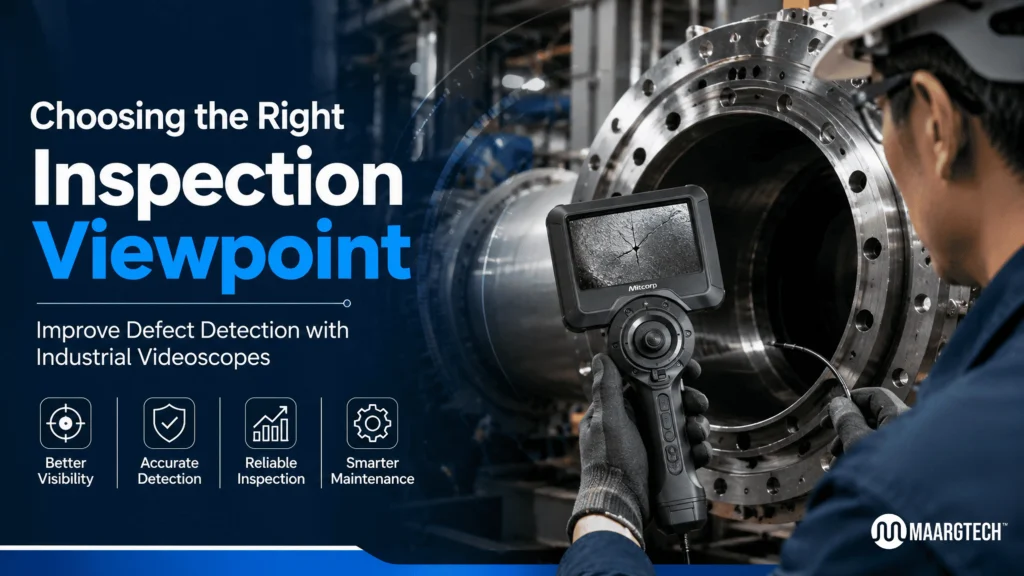
In industrial environments across automotive, aerospace, power generation, petrochemical, and manufacturing sectors, accurate defect detection depends on more than high-resolution cameras or bright lighting. One of the most critical factors is selecting the proper inspection viewpoint. Getting this right can mean the difference between catching a critical crack early and missing it until it causes costly downtime or failure.
At MAARGTECH, we help more than 200 customers in India and abroad achieve reliable Remote Visual Inspection (RVI) results with Mitcorp videoborescopes. Our experience shows that the correct approach consistently improves detection rates for cracks, corrosion, porosity, wear, and foreign object damage while reducing inspection time.
What Is an Inspection Viewpoint?
An inspection viewpoint refers to the direction, angle, and position from which the videoscope camera observes the internal surface or component. It includes the Direction of View (typically 0° front-view or 90° side-view), the probe’s orientation relative to the target surface, working distance, and how the articulating tip is positioned.
Unlike Field of View (the angular width of the image), this factor determines what the camera actually sees and how clearly defects appear. A poorly chosen setup can leave blind spots, distort defect geometry, or produce low-contrast images even with an otherwise excellent videoscope.
Why the Right Choice Matters for Defect Detection
Defects rarely sit conveniently in the center of a forward-looking camera path. Cracks often run along side walls, corrosion appears on pipe interiors, and porosity or inclusions hide in complex casting passages. Selecting the correct inspection viewpoint delivers several clear benefits:
- Higher probability of detecting surface and near-surface flaws
- Reduced need for multiple probe insertions and repositioning
- Clearer documentation for reports, audits, and trend monitoring
- Lower risk of false negatives that lead to unexpected equipment failure
In short, an optimized approach turns a good videoscope into a highly effective defect-detection tool.
Common Types of Viewing Options
1. Front-View (0° / Direct) The camera looks straight ahead along the probe axis. This option is ideal for navigation, inspecting end faces, bottoms of blind holes, and forward-facing surfaces. It works well for initial exploration and locating blockages.
2. Side-View (90°) The camera looks perpendicular to the probe. This is excellent for examining pipe and tube walls, circumferential welds, cylinder bores, and turbine blade roots. Many defects that remain invisible or poorly lit from the front become clear with a proper side-view setup.
3. Dual-Camera or Switchable Systems Advanced systems such as the Mitcorp X2000 HD and X3000 HD offer dual-camera probes or interchangeable tips. Inspectors can switch between front and side views without withdrawing the probe. This flexible inspection viewpoint approach is often the most efficient for complex components.
4. Articulated / Variable Options With 2-way or 4-way articulation, the tip can be steered to achieve intermediate angles. This allows the inspector to fine-tune the viewing angle for optimal lighting, focus, and defect visibility on curved or irregular surfaces.
Key Factors for Making the Right Selection
Several practical considerations guide the decision:
- Geometry of the component – Narrow pipes and tubes usually benefit from a side-view approach. Large cavities or open chambers often start with a front-view setup.
- Type of expected defect – Longitudinal cracks and wall corrosion favor side-view; end-face damage or foreign debris favors front-view.
- Access limitations and probe diameter – In tight spaces with limited articulation, a fixed side-view tip frequently provides a more reliable result than trying to bend a front-view camera.
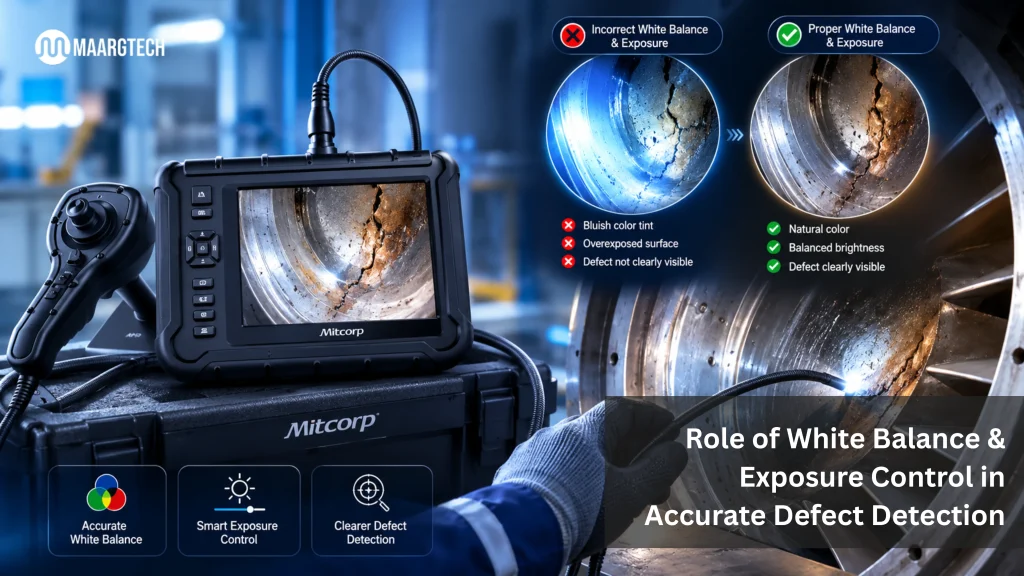
- Working distance and lighting – The chosen angle must keep the target within the depth of field and properly illuminated.
- Documentation requirements – A consistent, repeatable inspection viewpoint improves image comparison over time.
Best Practices for Effective Results
- Begin every job with a clear plan of the surfaces that must be examined and the most suitable viewing direction for each zone.
- Use dual-camera or interchangeable-tip systems whenever possible so the angle can be adjusted on the fly.
- Combine the chosen setup with appropriate Field of View and lighting intensity.
- Record both video and still images from the same position for reliable trend analysis.
- Train inspectors to recognize when a change in angle is needed rather than forcing a single position throughout the examination.
- Request a live demonstration on actual parts before purchasing equipment — the ideal inspection viewpoint often becomes obvious only when the real geometry is seen.
How MAARGTECH Supports Accurate Defect Detection
MAARGTECH supplies Mitcorp industrial videoscopes (including the X2000 HD, X3000 HD with dual camera and 3D measurement, and other models) specifically chosen for Indian industrial conditions. These systems offer:
- High-resolution imaging that makes the selected viewing angle more informative
- Reliable articulation and interchangeable optical tips
- Durable probes suited to foundry, automotive, power, and process environments
- Competitive pricing and strong local support
Our team helps customers match the correct options to their exact applications, whether the priority is engine castings, turbine internals, heat-exchanger tubes, or pressure-vessel welds.
Conclusion
Accurate defect detection begins with deliberate selection of the inspection viewpoint. By matching front-view, side-view, dual-camera, or articulated options to the geometry and expected flaws, inspection teams gain clearer images, faster results, and higher confidence in their findings.
If you are evaluating or upgrading your Remote Visual Inspection capability, contact MAARGTECH. We will help you identify the most effective strategy and the right Mitcorp videoscope configuration for your plant.
Improve Your Industrial Inspection Accuracy Today
Contact MAARGTECH to discover advanced MITCORP industrial videoscopes for reliable defect detection and internal visual inspections.
📞 +91-97572 76307 | 📧 sales@maargtech.com
Frequently Asked Questions (FAQ'S )
What is the difference between Field of View and inspection viewpoint?
Field of View (FOV) tells you how wide an area the camera can see at once. The inspection viewpoint tells you the direction and angle from which the camera is looking (front, side, or angled). Even with a perfect FOV, the wrong inspection viewpoint can still hide defects on side walls or curved surfaces.
When should I use a side-view inspection viewpoint instead of a front-view?
Use a side-view (90°) inspection viewpoint when inspecting pipe and tube walls, orbital welds, cylinder bores, turbine blade roots, or any surface that runs parallel to the probe. A front-view (0°) is better for navigation, end faces, and looking straight ahead into cavities.
Can one videoscope support more than one inspection viewpoint?
Yes. Many modern systems (including Mitcorp dual-camera models) let you switch between front-view and side-view without removing the probe. This flexible inspection viewpoint capability saves time and reduces the risk of missing defects during complex inspections.
How does the choice of inspection viewpoint affect defect detection accuracy?
A correctly chosen inspection viewpoint keeps the target surface properly oriented to the camera and lighting. This improves contrast, reduces distortion, and makes cracks, corrosion, porosity, and wear much easier to see and document. The wrong viewpoint often creates blind spots or low-contrast images even with high-resolution cameras.
How do I decide the best inspection viewpoint for my specific components?
Start by mapping the geometry of the part, the type of defects you expect, and the available access points. Then match them to front-view, side-view, dual-camera, or articulated options. At MAARGTECH we regularly help customers test the most suitable inspection viewpoint on actual parts before they decide on a videoscope configuration.