
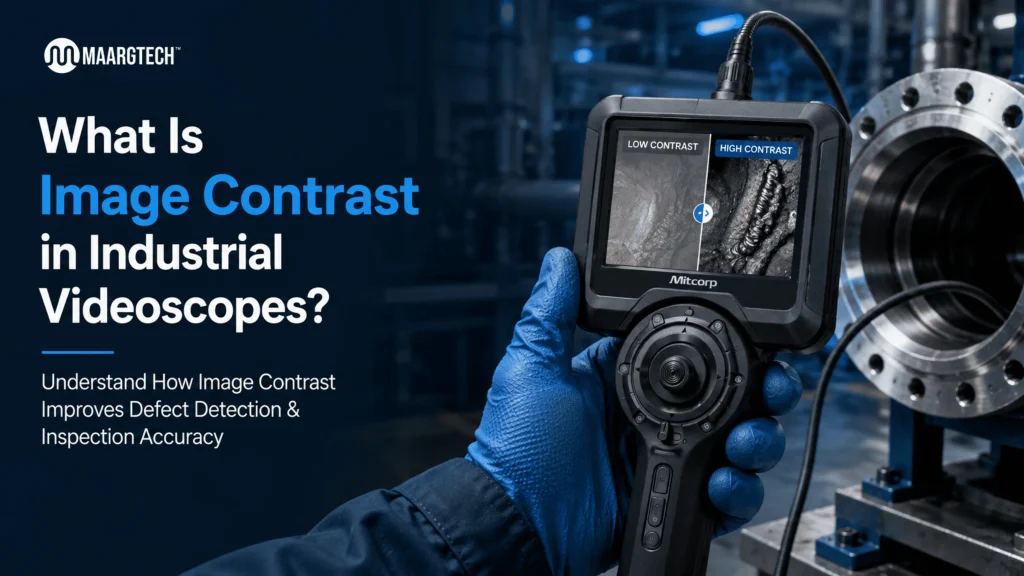
Introduction
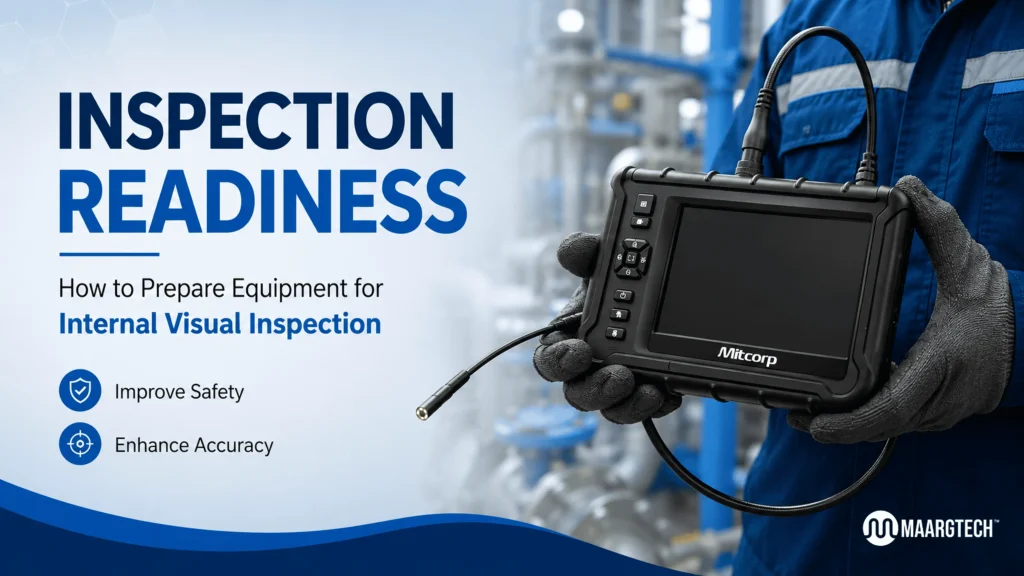
Industrial equipment operates in demanding environments where hidden defects can lead to unexpected downtime, costly repairs, and safety risks. Internal Visual Inspection (IVI) plays a vital role in preventive maintenance by allowing technicians to inspect internal components without dismantling the equipment. However, even the most advanced industrial videoscope cannot deliver reliable inspection results if the equipment is not properly prepared.
Inspection readiness for internal visual inspection is the process of ensuring that equipment, inspection personnel, and inspection tools are fully prepared before the inspection begins. Proper preparation improves image quality, protects expensive inspection equipment, reduces inspection time, and ensures that defects such as cracks, corrosion, wear, deposits, and foreign object damage are accurately identified.
This guide explains the essential steps for preparing industrial equipment for internal visual inspection and highlights best practices that help maintenance teams achieve safer, faster, and more reliable inspections.
What Is Inspection Readiness?
Inspection readiness refers to all the activities performed before an inspection to ensure the process is safe, efficient, and accurate. Rather than simply inserting a videoscope into an inspection port, technicians should evaluate the equipment, review maintenance records, verify safe operating conditions, and prepare inspection tools.
Proper inspection readiness helps maintenance teams:
- Improve inspection accuracy
- Reduce unnecessary downtime
- Protect the videoscope from damage
- Increase technician safety
- Standardize inspection procedures
- Generate better maintenance reports
A well-prepared inspection often takes less time and produces more meaningful results than one performed without planning.
Why Equipment Preparation Is Important
Many industrial assets contain narrow passages, high-temperature surfaces, oil residue, dust, or complex internal structures. Without adequate preparation, inspectors may experience poor image quality, limited access, or even damage to the inspection probe.
Preparing equipment before inspection provides several advantages:
- Clearer internal visibility
- Better defect detection
- Reduced inspection time
- Lower maintenance costs
- Improved equipment reliability
- Consistent inspection documentation
- Enhanced workplace safety
Preparation also allows maintenance teams to compare inspection results over time, making predictive maintenance more effective.
Step 1: Review Equipment Documentation
Preparation should always begin with understanding the equipment being inspected.
Review available documents such as:
- Equipment manuals
- Previous inspection reports
- Maintenance history
- Engineering drawings
- Inspection procedures
- OEM recommendations
Knowing where previous defects were detected helps inspectors focus on high-risk areas and improves inspection efficiency.
Step 2: Perform Lockout/Tagout (LOTO)
Safety must always come before inspection.
Before opening access covers or inserting a videoscope:
- Shut down the equipment completely.
- Disconnect electrical power.
- Isolate hydraulic systems.
- Release stored pressure.
- Secure mechanical movement.
- Follow facility Lockout/Tagout procedures.
These safety measures protect inspectors from unexpected equipment movement or energy release during the inspection.
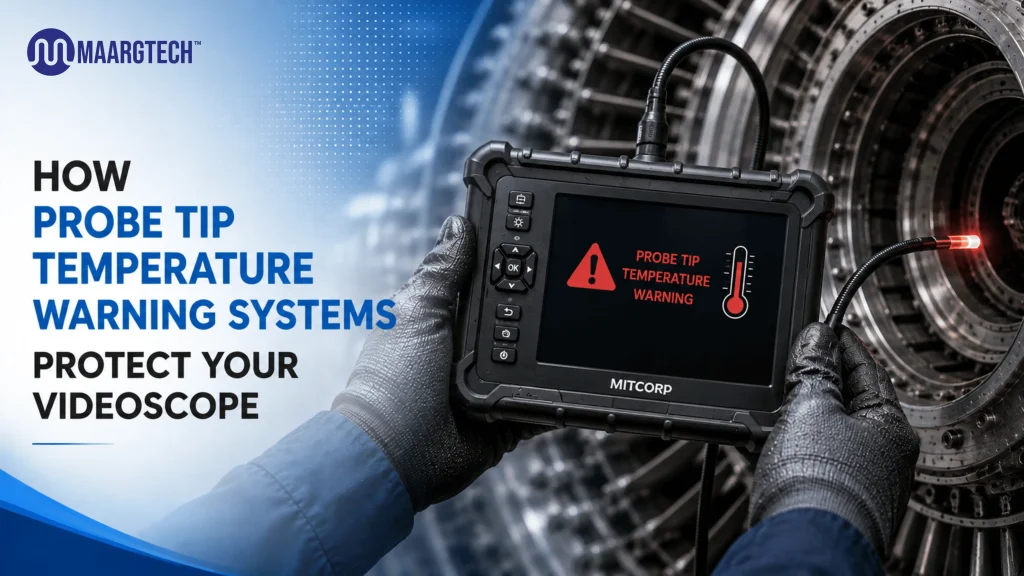
Step 3: Ensure Equipment Has Cooled
Industrial equipment often operates at elevated temperatures. Boilers, turbines, engines, furnaces, and process equipment must be allowed to cool before inspection.
Inspecting equipment that remains excessively hot can:
- Damage the insertion tube
- Affect camera performance
- Reduce LED lifespan
- Increase safety hazards
- Shorten the life of the videoscope
Always verify that equipment has reached a safe inspection temperature before proceeding.
Step 4: Clean the Inspection Area
A clean inspection port greatly improves inspection quality.
Before inserting the videoscope:
- Remove loose dust
- Wipe away grease
- Remove metal particles
- Eliminate debris
- Drain standing liquids when required
Cleaning prevents contaminants from sticking to the camera lens and helps produce sharper inspection images.
Step 5: Choose the Right Industrial Videoscope
Different inspection tasks require different videoscope configurations.
Consider the following factors:
Probe Diameter
Choose a diameter that fits comfortably through the inspection opening while still providing excellent image quality.
Probe Length
The insertion tube should be long enough to reach all required inspection areas without unnecessary excess length.
Camera Direction
Forward-view cameras inspect straight ahead, while side-view cameras are ideal for inspecting pipe walls, welds, and internal surfaces.
Articulation
Four-way articulation enables inspectors to navigate bends, corners, and complex internal pathways.
Lighting
Adjust LED brightness according to the inspection environment to avoid glare and improve visibility.
Selecting the correct videoscope significantly improves inspection efficiency.
Step 6: Verify Inspection Access
Before beginning the inspection, ensure that the inspection path is suitable.
Check that:
- Access ports are open
- Covers are safely removed
- No internal obstructions exist
- The probe can move freely
- Entry points are clean
Never force the videoscope through restricted openings, as this may damage both the equipment and the inspection probe.
Step 7: Inspect the Videoscope Before Use
Perform a pre-inspection check of the videoscope.
Verify that:
- Camera produces a clear image
- LED lights operate correctly
- Probe articulation responds smoothly
- Battery is fully charged
- Recording functions work properly
- Memory storage is available
- Measurement functions operate correctly if required
Routine equipment checks help prevent interruptions during inspection.
Step 8: Plan the Inspection Route
Rather than inspecting randomly, establish a logical inspection sequence.
Create a checklist that includes:
- Inspection starting point
- Critical internal components
- Weld joints
- Bearings
- Turbine blades
- Heat exchanger tubes
- Previously repaired areas
- Final inspection location
A structured inspection route reduces the possibility of missing hidden defects.
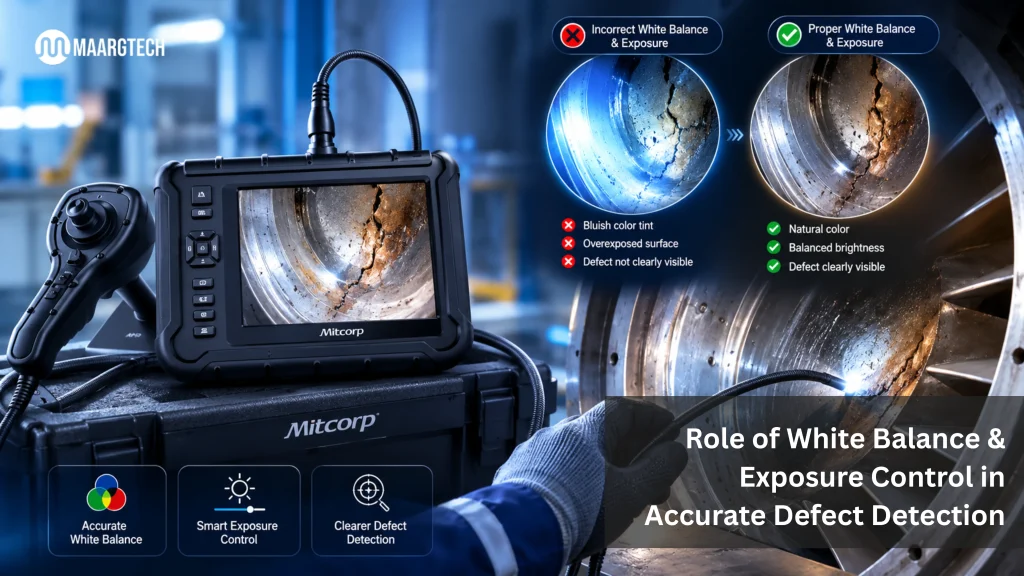
Step 9: Optimize Lighting Conditions
Lighting plays a major role in image quality.
Although industrial videoscopes feature built-in LED illumination, brightness should be adjusted according to the inspection environment.
Proper lighting helps identify:
- Surface cracks
- Corrosion
- Pitting
- Wear
- Deposits
- Foreign object damage
- Surface deformation
Balanced lighting produces more accurate inspection images and videos.
Step 10: Document Inspection Information
Before beginning the inspection, record essential details such as:
- Equipment ID
- Inspection date
- Inspector name
- Inspection location
- Operating hours
- Equipment condition
- Videoscope model
- Inspection objective
Proper documentation simplifies future inspections and supports maintenance planning.
Common Inspection Preparation Mistakes
Many inspection problems result from inadequate preparation rather than equipment failure.
Common mistakes include:
- Skipping Lockout/Tagout procedures
- Inspecting equipment before cooling
- Using the wrong probe diameter
- Poor cleaning of inspection ports
- Ignoring probe damage
- Excessive LED brightness causing glare
- Incomplete inspection planning
- Failing to document inspection findings
Avoiding these mistakes improves inspection consistency and reduces repeat inspections.
How Modern Industrial Videoscopes Improve Inspection Readiness
Today’s industrial videoscopes are designed to simplify inspection preparation and improve inspection quality.
Advanced features include:
- High-definition imaging
- Precision articulation
- Adjustable LED lighting
- Long insertion tubes
- Image and video recording
- Digital zoom
- Portable design
- Measurement capabilities
- Rugged construction for industrial environments
These capabilities allow inspectors to access difficult locations while maintaining exceptional image quality.
Industries That Benefit from Proper Inspection Readiness
Inspection readiness is essential across many industries, including:
- Oil & Gas
- Power Generation
- Petrochemical
- Aerospace
- Automotive
- Marine
- Railway
- Chemical Processing
- Heavy Manufacturing
- Food Processing
- Pharmaceutical Manufacturing
In each of these sectors, proper preparation helps reduce downtime, improve safety, and extend equipment life.
Why Choose MAARGTECH for Internal Visual Inspection Solutions?
MAARGTECH provides advanced industrial videoscope solutions designed to support efficient and accurate internal inspections across diverse industrial applications. Our portfolio includes high-performance MITCORP industrial videoscopes that offer HD image quality, precise articulation, powerful LED illumination, and durable probe designs for inspecting hard-to-reach areas.
Whether you are inspecting turbines, pipelines, pressure vessels, heat exchangers, engines, or complex manufacturing equipment, MAARGTECH helps maintenance teams perform reliable internal visual inspections while minimizing downtime and improving inspection efficiency.
Conclusion
Effective internal visual inspection begins long before the videoscope enters the equipment. Proper inspection readiness—including safety procedures, equipment preparation, documentation review, access verification, and selecting the appropriate inspection tools—creates the foundation for successful inspections.
By following a structured preparation process, organizations can improve maintenance efficiency, reduce unexpected failures, protect valuable inspection equipment, and make informed maintenance decisions based on accurate visual data.
Investing time in preparation today leads to safer operations, higher inspection quality, and greater equipment reliability tomorrow.
Ready for More Reliable Internal Inspections?
Discover MITCORP industrial videoscopes from MAARGTECH and prepare your equipment for safer, faster, and more accurate inspections.
📞 +91-97572 76307 | 📧 sales@maargtech.com
Frequently Asked Questions (FAQ'S )
What is inspection readiness in industrial maintenance?
Inspection readiness is the process of preparing industrial equipment, inspection tools, and safety measures before conducting an internal visual inspection. Proper preparation helps improve inspection accuracy, reduce downtime, and ensure safe maintenance operations.
Why is equipment preparation important before an internal visual inspection?
Preparing equipment before an internal visual inspection ensures safe access, better image quality, and accurate defect detection. It also helps protect the videoscope from damage and reduces the need for repeat inspections.
What should be checked before using an industrial videoscope?
Before using an industrial videoscope, inspect the probe, camera, articulation, LED lighting, battery level, recording functions, and insertion tube. Also verify that the equipment is isolated, cleaned, and safe to inspect.
Which industries benefit from internal visual inspections?
Internal visual inspections are widely used in industries such as oil and gas, power generation, aerospace, automotive, petrochemical, manufacturing, marine, railway, and pharmaceutical manufacturing to detect internal defects without disassembling equipment.
How can industrial videoscopes improve inspection readiness?
Industrial videoscopes improve inspection readiness by providing high-definition imaging, flexible probe articulation, adjustable LED lighting, and access to hard-to-reach areas. These features help maintenance teams perform faster, safer, and more accurate internal inspections while minimizing equipment downtime.