
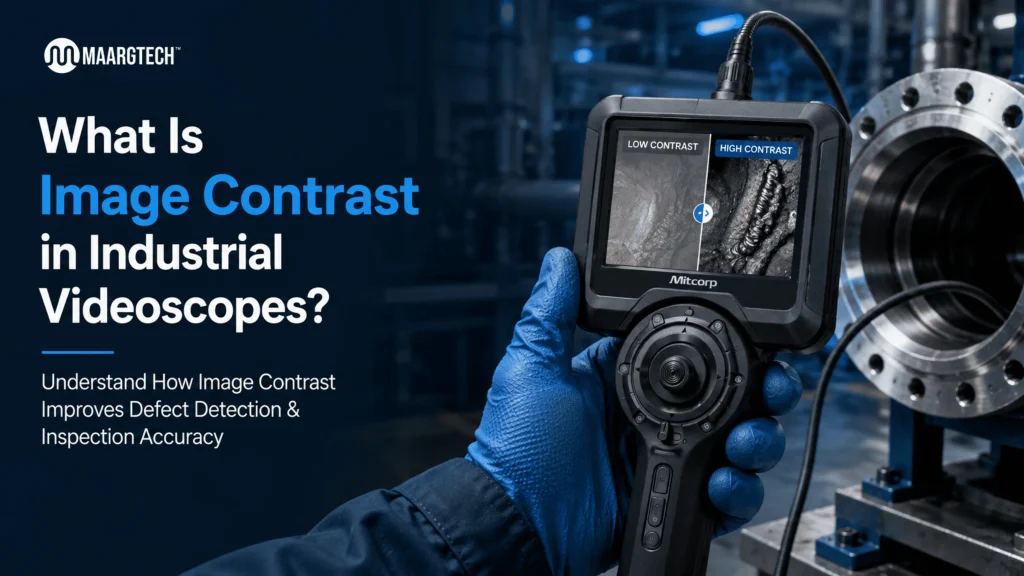
Introduction
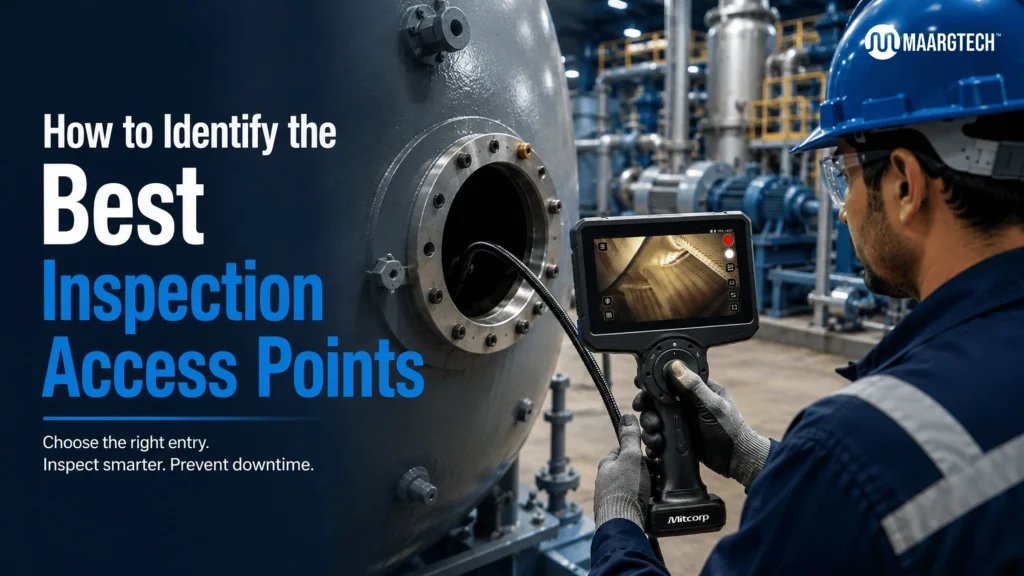
In industrial maintenance, quality control, and non-destructive testing (NDT), videoscope inspection (also known as borescope or remote visual inspection) is a game-changer. It allows you to examine internal components like turbines, heat exchangers, pipelines, castings, engines, and vessels without costly disassembly. However, the success of any inspection heavily depends on one critical factor: choosing the right inspection access points.
Selecting optimal entry points ensures maximum coverage, clearer images, safer probe insertion, and reduced inspection time. At MAARGTECH, we help industries across India and beyond leverage advanced Mitcorp videoscopes for efficient, reliable inspections. This guide walks you through how to identify the best access points for videoscope inspection.
Why Access Point Selection Is Critical for Successful Videoscope Inspections
Choosing suboptimal access points often results in:
- Incomplete coverage of high-risk areas
- Poor image clarity due to awkward angles or excessive distance
- Increased risk of probe damage or sticking
- Longer inspection times leading to higher operational costs
- Missed defects like cracks, corrosion, pitting, erosion, blockages, or foreign material
On the other hand, well-selected access points allow you to fully leverage modern videoscope features such as 360° articulation, HD imaging, adjustable LED lighting, on-screen measurement, and digital recording. This leads to more accurate defect detection, better documentation, and informed maintenance decisions.
Step-by-Step Process to Identify Optimal Access Points
1. Thorough Review of Technical Documentation
Begin with a detailed study of:
- Engineering drawings and 3D CAD models
- Piping & Instrumentation Diagrams (P&IDs)
- OEM maintenance manuals and inspection history
- Previous inspection reports
Identify pre-existing ports, flanges, nozzles, manholes, or service openings specifically designed for internal access. Many modern machines already incorporate dedicated borescope ports — prioritize these whenever available.
2. On-Site Visual and Risk Assessment
Conduct a physical walkthrough of the equipment:
- Map internal zones that require the highest scrutiny (e.g., welds, bends, high-velocity flow areas, or rotating components)
- Evaluate external accessibility, working height, and required safety measures
- Check for confined space permits, lockout-tagout (LOTO) procedures, or hazardous conditions
- Measure port diameters and compare them with your available probe sizes (typically 2.8 mm to 8 mm)
Pro Tip: Create a simple checklist or digital map marking potential entry points with their pros and cons.
3. Assess Coverage Potential and Viewing Angles
The ideal access point offers:
- A relatively straight or gently curved path to critical internal surfaces
- Good visibility of multiple target areas from a single entry
- Compatibility with forward-view or side-view camera tips
- Enough space for full articulation of the probe tip
Test preliminary insertions during trial runs. Advanced articulating videoscopes, such as the Mitcorp X2000 HD offered by MAARGTECH, excel in navigating complex geometries once the right entry is chosen.
4. Match Access Points with Videoscope Specifications
Consider these technical factors:
- Probe diameter & length: Ensure the port accommodates the probe without forcing it
- Flexibility and durability: Select points that reduce unnecessary bending stress on the insertion tube
- Lighting requirements: Prefer openings that minimize glare and allow effective illumination
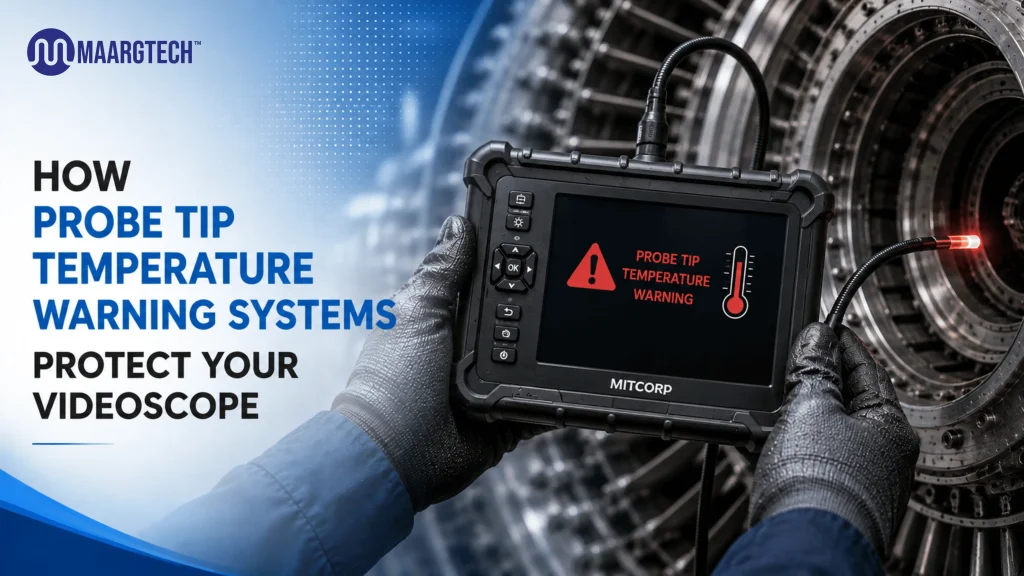
- Environmental compatibility: Heat-resistant or chemically tolerant probes for extreme conditions
Always verify probe condition and cleanliness before insertion.
5. Operational and Practical Considerations
- Minimize equipment downtime by choosing ports that require the least preparation
- Favor repeatable access points for trending and predictive maintenance programs
- Plan multi-point inspection strategies for large or complex assets
- Factor in team ergonomics — comfortable working positions improve inspection quality
Industry-Specific Examples of Effective Access Points
- Automotive & Foundries: Cylinder heads, engine blocks, oil passages, and machined blind holes
- Power Plants: Turbine casings, boiler tubes, condenser water boxes, and generator ports
- Oil & Gas: Separator vessels, pipeline flanges, valve bodies, and heat exchanger tube sheets
- Aerospace: Dedicated engine borescope ports on compressors and turbines
- Heavy Manufacturing: Hydraulic manifolds, gearboxes, and large castings
In each case, combining 2–4 strategic access points often achieves near-complete internal coverage.
Advanced Tips and Best Practices
- Use technology aids: Some facilities employ laser distance tools or small guide tubes to map internal paths beforehand.
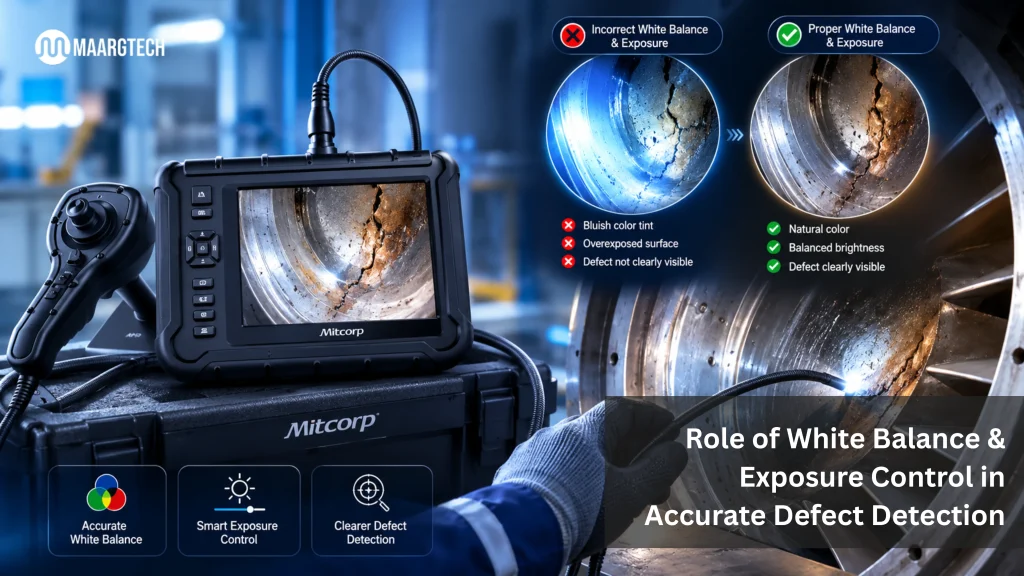
- Lighting optimization: Adjust videoscope illumination dynamically and capture images under multiple lighting conditions.
- Safety first: Always follow industry standards (e.g., API, ASME) and use proper PPE.
- Documentation excellence: Record the exact access point, probe path, and findings with timestamps and annotations.
- Continuous improvement: After each inspection, review what worked well and refine your access point database.
Regular training on videoscope handling further enhances your team’s ability to make smart access decisions on the spot.
Common Challenges and How to Overcome Them
- Tight or awkward ports → Use ultra-slim probes and side-view adapters
- Reflections and poor visibility → Adjust angles, reduce brightness, or apply anti-reflective techniques
- Debris or blockages → Gentle pre-cleaning or using retrieval tools
- Limited historical data → Build a custom access point register over successive inspections
The Role of Quality Videoscope Equipment
High-quality tools make access point utilization far more effective. MAARGTECH’s range of Mitcorp videoscopes features:
- Crystal-clear HD resolution
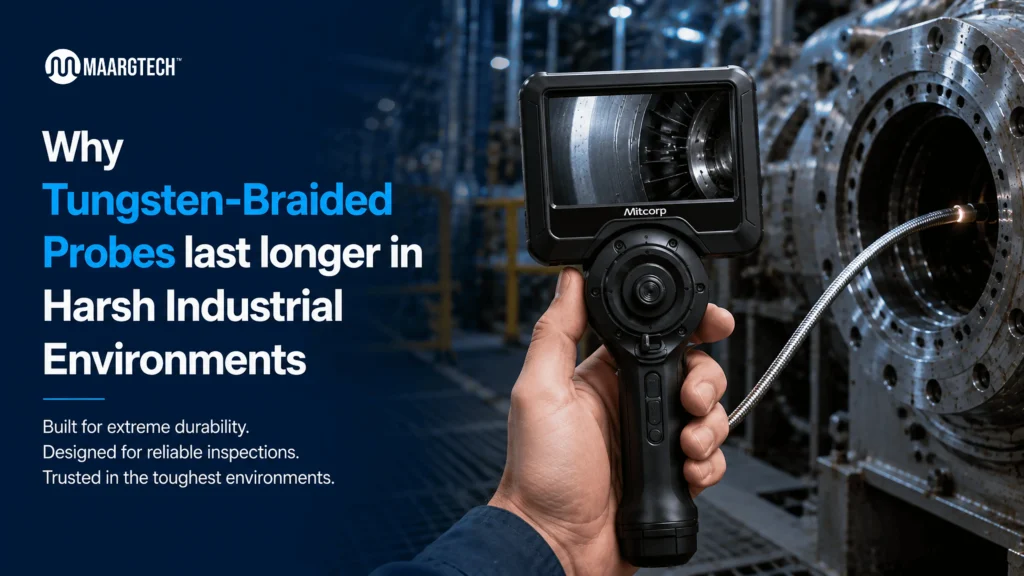
- Robust, oil- and heat-resistant probes
- Intuitive joystick articulation
- Powerful adjustable lighting
- Recording and measurement capabilities
These features turn good access points into outstanding inspection results.
Conclusion
Mastering the art of identifying the best access points for videoscope inspection is a key skill that delivers significant returns through improved reliability, safety, and operational efficiency. By following a systematic approach — from documentation review to on-site evaluation and practical testing — you can dramatically enhance the value of your RVI program.
At MAARGTECH, we are committed to supporting Indian industries with advanced yet economical Remote Visual Inspection solutions. Our expert team is ready to help you select the right videoscopes and optimize your inspection strategies.
Need Expert Help Choosing the Right Inspection Access Points?
Our experts will help you select the right videoscope solution to maximize inspection coverage, improve maintenance efficiency, and reduce unnecessary equipment disassembly.
📞 +91-97572 76307 | 📧 sales@maargtech.com
Frequently Asked Questions (FAQ'S )
What makes an access point “the best” for videoscope inspection?
The best access point is one that provides maximum internal coverage with minimal probe travel distance, offers good viewing angles for critical areas, accommodates the probe diameter comfortably, and requires the least disassembly or downtime. Ideal points allow effective use of the videoscope’s articulation, lighting, and imaging capabilities while maintaining operator safety. Factors like port size, internal obstructions, and repeatability for future inspections are also considered.
How do I choose the right access point when inspecting complex equipment like turbines or heat exchangers?
Start by studying equipment drawings and P&IDs to identify existing ports or flanges. Then perform an on-site assessment focusing on reach to high-risk zones (welds, blades, tube sheets). Prioritize points that allow 360° articulation and multiple viewing angles. For complex assets, a combination of 2–4 complementary access points is often recommended. Our Mitcorp videoscopes with full articulation perform exceptionally well when the right entry points are selected.
Can I create new access points if existing ones are insufficient?
Yes, in many cases new access points can be added (e.g., by drilling temporary or permanent ports), but this must be done with proper engineering approval, following design codes (ASME, API, etc.), and ensuring structural integrity is not compromised. It is always better to utilize existing ports first. Consult with your maintenance or engineering team and, if needed, MAARGTECH experts before modifying equipment.
What probe size and videoscope features are best for tight or difficult access points?
For tight access points, slim probes with diameters between 2.8 mm to 4.9 mm are ideal. Look for videoscopes with excellent articulation (up to 360°), powerful adjustable LED lighting, and durable insertion tubes. Models like the Mitcorp X2000 HD from MAARGTECH are highly effective in challenging spaces due to their high-resolution imaging and flexibility. Always match the probe specifications to the smallest port you need to enter.
How can proper access point selection reduce inspection time and costs?
Strategic access points significantly reduce the need for major disassembly, minimize probe handling time, and improve image quality — leading to faster defect detection and better decision-making. Many of our customers report 30–60% reduction in inspection time and substantial cost savings by optimizing access strategies. Regular use of high-quality videoscopes further amplifies these benefits through clearer visuals and reliable documentation.