
Introduction
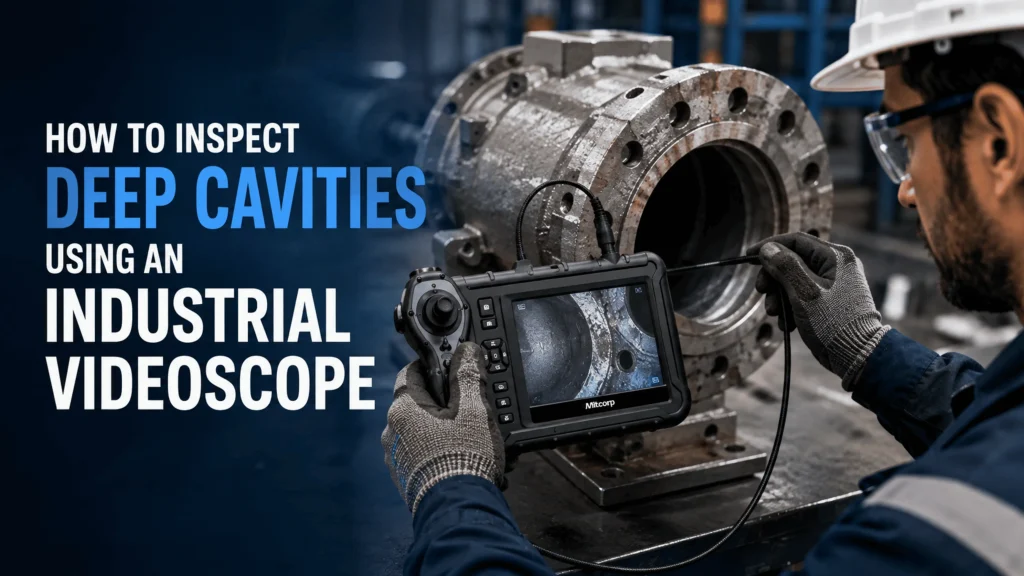
Deep cavities in industrial equipment—such as turbine blades, engine cylinders, heat exchanger tubes, castings, valves, and complex piping systems—present unique inspection challenges. These areas are often dark, confined, and difficult to access without complete disassembly. Traditional visual checks or rigid tools fall short, risking missed defects like cracks, corrosion, erosion, foreign object debris, or manufacturing flaws.
This is where modern industrial videoscopes excel. Proper deep cavity inspection using videoscope technology enables clear, real-time visualization and documentation without damaging the asset or causing extended downtime. At MAARGTECH, as authorized distributors of MITCORP videoscopes in India, we help industries across automotive, aerospace, power generation, petrochemical, and manufacturing achieve reliable remote visual inspection (RVI) results with advanced yet economical solutions.
Why Deep Cavities Demand Specialized Inspection
Deep cavities often feature bends, varying diameters, reflective surfaces, and limited lighting. Defects can hide in blind spots, behind shoulders, or along curved walls. Disassembly for direct inspection is time-consuming, expensive, and sometimes impractical for large or critical assets.
Industrial videoscopes solve this with flexible insertion tubes, articulating tips, high-intensity LED lighting, and digital imaging sensors that deliver HD or higher-resolution video to a handheld display. The result is accurate, non-destructive assessment that supports better maintenance decisions and compliance with quality standards.
Key Advantages of Videoscope Technology for Deep Areas
Successful deep cavity inspection using videoscope systems offers several clear benefits:
- Non-destructive access through existing ports or small openings
- Real-time HD imaging with recording for reports and trend analysis
- Articulation (2-way or 4-way) to navigate complex geometries
- Durable probes resistant to oil, heat, water, and chemicals (often IP67-rated)
- Optional measurement capabilities for defect sizing
MITCORP models available through MAARGTECH, such as the X2000 HD, X750 HD, and X3000 with dual-view 3D measurement, are designed precisely for these demanding industrial environments.
Step-by-Step Guide to Deep Cavity Inspection Using Videoscope
Follow a structured process for consistent, high-quality results.
1. Preparation and Planning Review equipment drawings or previous inspection reports to identify access points and expected cavity geometry. Select the appropriate probe diameter (commonly 2.8 mm to 6 mm or larger) and length based on the deepest reach required. Ensure the videoscope is fully charged, the probe is clean, and the correct optical tip (forward-view or side-view) is fitted. Confirm the equipment is safely isolated, cooled, and free of residual pressure or hazardous materials.
2. Probe Insertion and Initial Navigation Gently insert the probe through the access port. Avoid forcing it; use slow, controlled movements. For longer or more complex paths, a rigid guide tube can help protect the insertion tube and improve direction control. Once inside, activate the LED lighting at a moderate level—excessive brightness can cause glare on reflective metal surfaces.
Begin deep cavity inspection using videoscope by advancing gradually while observing the live feed. Establish a reference orientation (for example, 12 o’clock position) early to maintain spatial awareness.
3. Systematic Coverage of the Cavity Divide the cavity into logical zones (entrance, mid-section, far end, and critical features such as welds, shoulders, or blade roots). Use the joystick for precise 360° articulation to examine walls, floors, and ceilings.
A proven technique is to insert the probe fully to the deepest point, then slowly retract while scanning. This often provides smoother control than pushing forward. Capture multiple still images and short video clips of any indications from different angles and lighting levels. Never rely on a single view.
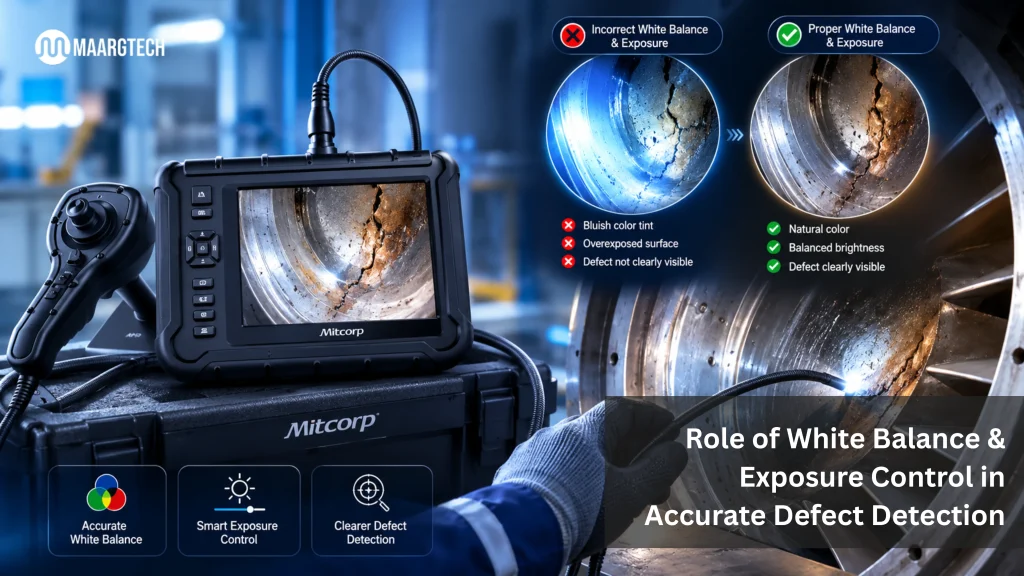
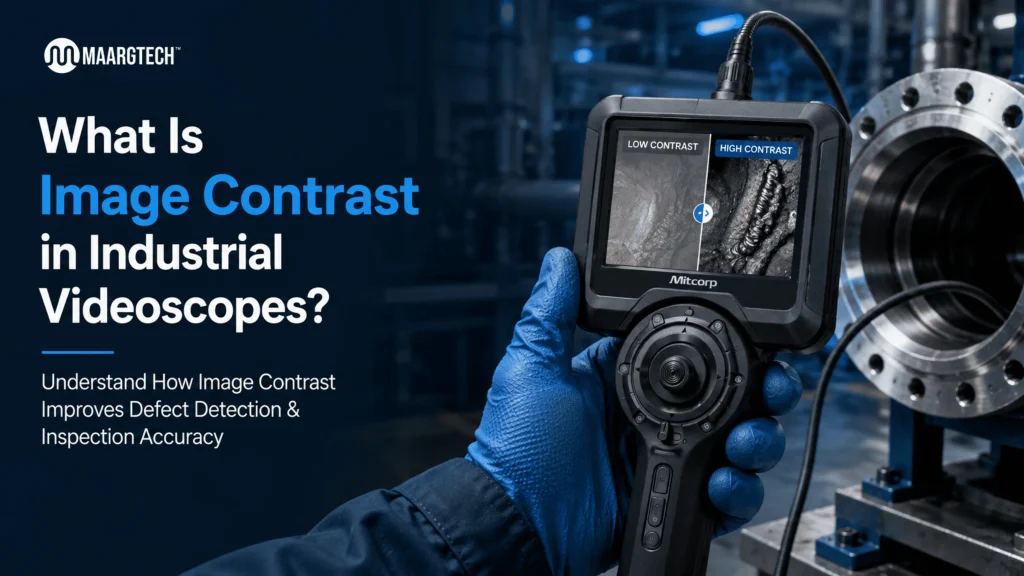
4. Image Optimization and Documentation Adjust brightness, contrast, and digital zoom as needed. Many modern systems include image enhancement features that improve clarity in low-light or high-reflectivity conditions. For critical defects, use measurement functions if available (stereo or 3D) to record size and depth.
Annotate images with location details, date, and inspector notes. Store files systematically for comparison during future inspections. Proper documentation turns a one-time check into a valuable condition-monitoring record.
5. Probe Withdrawal and Post-Inspection Unlock articulation, straighten the tip if required, and withdraw the probe slowly and carefully. Inspect and clean the insertion tube immediately. Review all captured media while the inspection details are fresh, and prepare a clear report highlighting findings, severity, and recommended actions.
Best Practices for Reliable Results
- Choose the right probe: Smaller diameters for tight entries; longer, more durable tubes for extended reach. Dual-camera or side-view options help eliminate blind spots.
- Control lighting carefully: Start low and increase only as needed to avoid blooming.
- Maintain steady hands: Brace the control unit or insertion tube against a stable surface for sharper images.
- Follow a consistent sequence: Starting from the same reference point every time improves repeatability.
- Train operators: Familiarity with articulation, orientation, and common defect appearances dramatically raises detection rates.
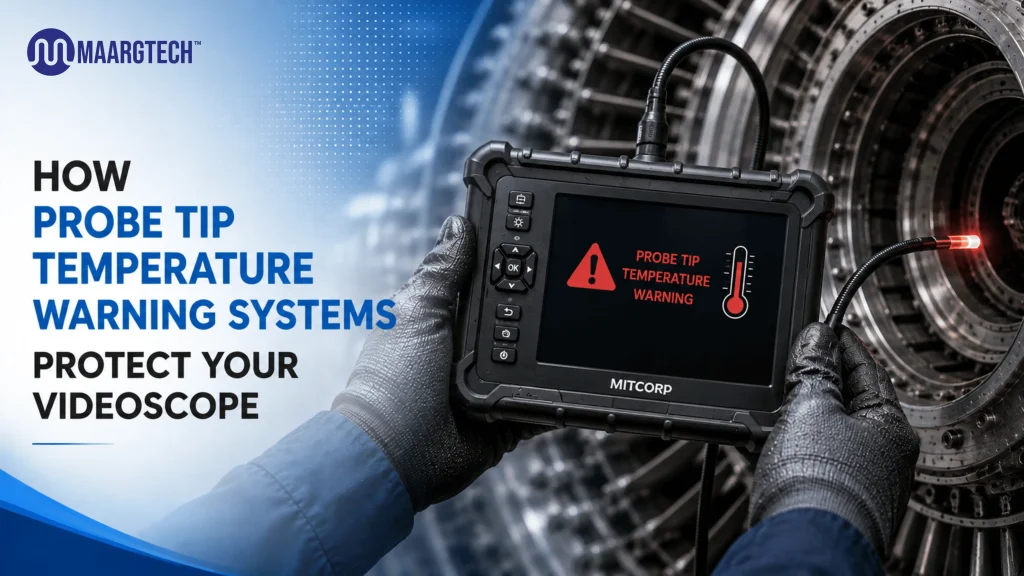
- Consider environmental factors: Heat-resistant probes (up to 100°C or higher with proper cooling considerations) and chemical-resistant jackets extend tool life in harsh conditions.
These practices make deep cavity inspection using videoscope both efficient and highly effective across repeated maintenance cycles.
Common Industrial Applications
Deep cavity inspection using videoscope is widely applied in:
- Aerospace and aeroengines – combustion chambers, compressors, and turbine stages
- Automotive – cylinder walls, valves, manifolds, and castings
- Power generation – boiler tubes, heat exchangers, and gas/steam turbines
- Petrochemical and process plants – valves, vessels, and piping internals
- Manufacturing and quality control – weld inspection, casting integrity, and component verification
In each case, the ability to inspect without full teardown reduces downtime and supports predictive maintenance strategies.
Choosing the Right Equipment
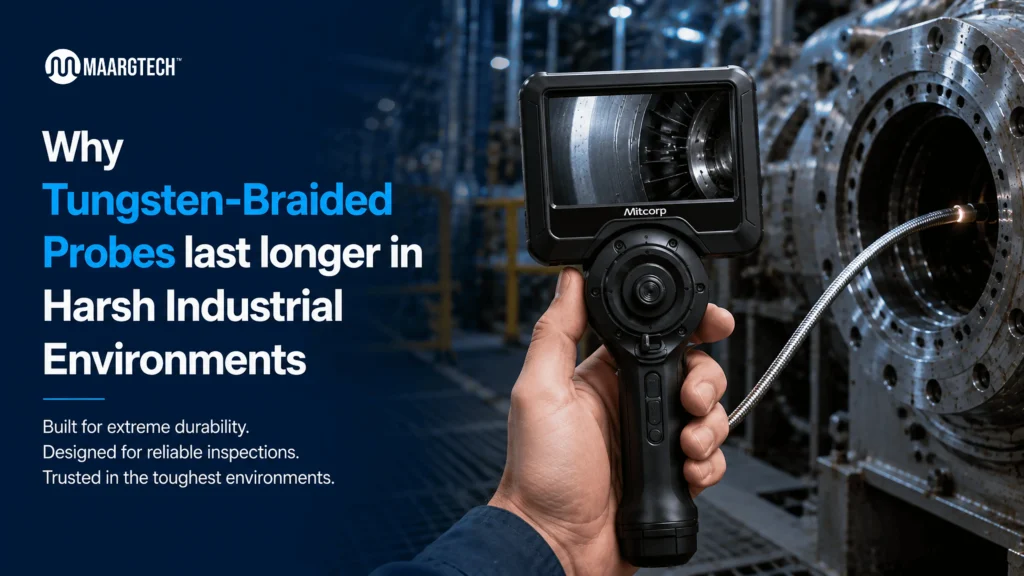
Not every videoscope is equally suited to deep cavity work. Look for high-resolution imaging (Full HD or better), reliable multi-directional articulation, robust tungsten-braided or similar probes, adequate lighting control, and convenient data management features. Measurement capability becomes especially valuable when defect sizing influences repair-or-replace decisions.
MAARGTECH supplies MITCORP industrial videoscopes that balance performance, durability, and affordability—trusted by customers in India and abroad across automotive OEMs, aerospace, power, and process industries. Our team helps match the right model and probe configuration to your specific cavity geometries and inspection goals.
Conclusion
Mastering deep cavity inspection using videoscope technology transforms a previously difficult task into a routine, high-value part of any industrial maintenance or quality program. By combining proper preparation, systematic technique, optimized imaging, and thorough documentation, inspectors can detect critical issues early, improve safety, and protect asset integrity—all without unnecessary disassembly.
When performed correctly, deep cavity inspection using videoscope delivers clear visual evidence that supports confident engineering decisions. As equipment grows more complex and downtime costs rise, investing in capable RVI tools and skilled operators becomes essential.
Inspect Deep Cavities with Confidence Using MAARGTECH Videoscopes
Detect hidden defects faster with MAARGTECH’s advanced industrial videoscope solutions. Contact our experts today.
📞 +91-97572 76307 | 📧 sales@maargtech.com
Frequently Asked Questions (FAQ'S )
What probe size and length should I choose for deep cavity inspection using videoscope?
The ideal probe depends on the access opening and maximum depth of the cavity. Smaller diameters (typically 2.8 mm to 4 mm) are preferred for tight entry points, while longer probes (several meters) are needed for deep reaches. Always match the probe diameter to the smallest restriction in the path and ensure the length exceeds the deepest point you need to inspect. Articulating tips (2-way or 4-way) further improve coverage in complex geometries.
How do I control lighting and avoid glare during deep cavity inspection?
Start with moderate LED brightness rather than maximum output, especially on reflective metal surfaces. Excessive light causes blooming that washes out surface details. Adjust brightness, contrast, and exposure as you move deeper, and capture images at slightly different lighting levels for better clarity. Many modern videoscopes also offer image enhancement features that help in low-light or high-reflectivity conditions.
What is the best technique to fully cover a deep cavity without missing areas?
Insert the probe carefully to the farthest point first, establish a clear orientation reference (such as 12 o’clock), then slowly retract while systematically scanning walls, floors, and critical features. Divide the cavity into zones and use full articulation to examine all surfaces. Capturing multiple still images and short videos from different angles of any indication is essential for thorough documentation.
Can industrial videoscopes measure defect size inside deep cavities?
Yes. Advanced models with stereo or dual-view 3D measurement capability allow accurate sizing of cracks, pits, corrosion, and other defects without removing the component. This feature is particularly valuable when deciding whether a finding requires immediate repair or can be monitored over time. Not all videoscopes include measurement—select a model with this function if quantitative data is required for your inspections.
How does deep cavity inspection using videoscope reduce downtime compared to traditional methods?
Unlike full disassembly, a videoscope inspection is non-destructive and can be performed through existing ports or small openings. This significantly shortens inspection time, eliminates the need for extensive teardown and reassembly, and allows equipment to return to service much faster. Recorded images and videos also create a clear audit trail for maintenance planning and compliance, further improving overall efficiency.